Table of Contents
Introduction
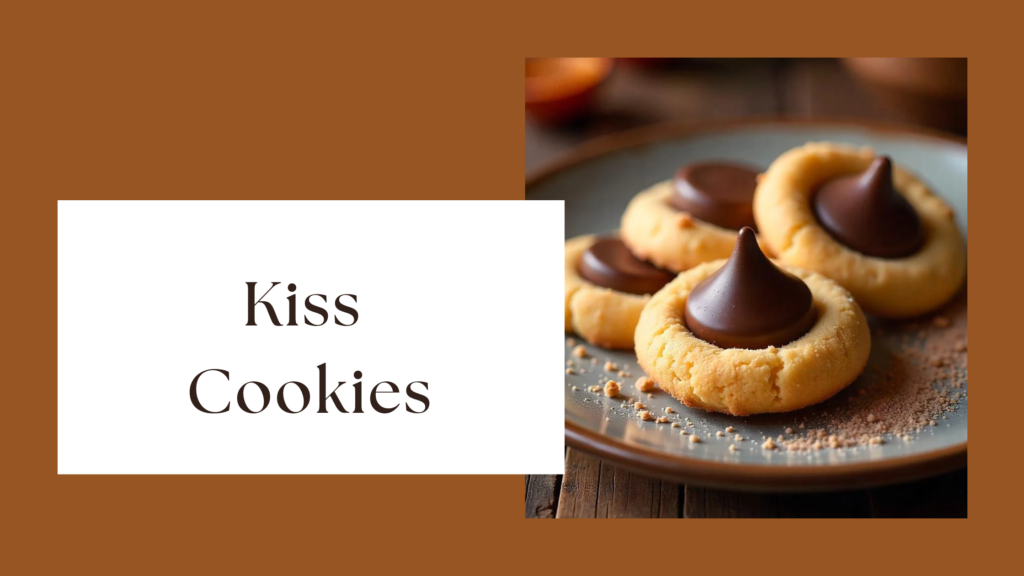
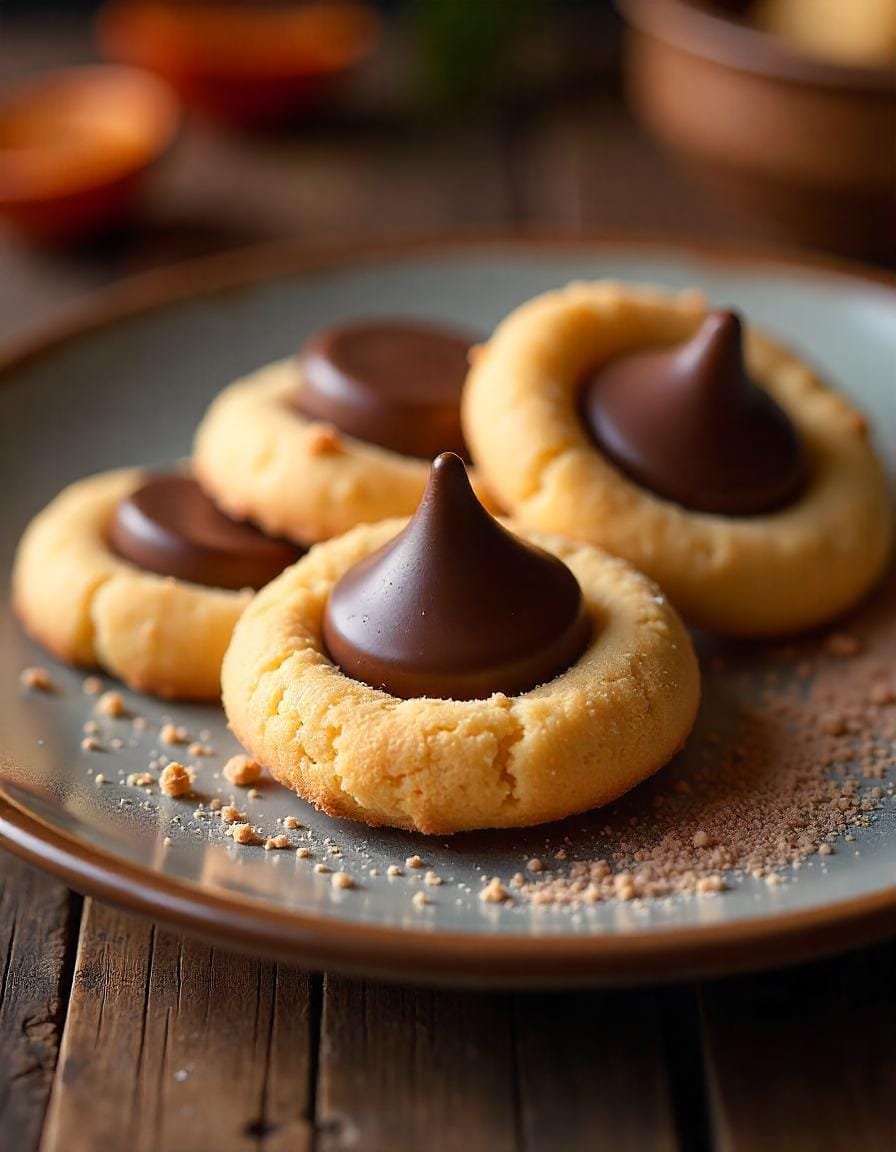
These Kiss Cookies are not only easy and cinnamon-roll yummy, but also a fun and pretty cookie to make for any occasion. These are cookies that drop cookies with a soft butter base shape and small chocolate kisses in the middle, which provide sheer tastefulness. If you are planning for the holiday season or whether you are at a party, or simply, you are craving some cookies, then Kiss Cookies will never go out of style.
Here, you’ll find out how to bake perfect Kiss Cookies step by step, as well as tips for success and answers to frequently asked questions.
What Are Kiss Cookies?
Kiss Cookies are tender, chunky cookies usually prepared with peanut butter cookie dough and then a Hershey’s Kiss chocolate on top. To have a nutty flavor followed by rich chocolate is a great match which most people cannot say no to. These are cut and shapeless, with the tubs rather interesting, and can be made in different flavors, for all occasions.
Why Kiss Cookies Are a Must-Try?
- Simple to Make: Since Kiss Cookies are easy to prepare, you will find that you need simple ingredients and very little effort to prepare them.
- Visually Appealing: The chocolate kiss on top gives them that elegant look without any work at all.
- Customizable: Take the peanut butter and replace it with other flavors, or try a variety of chocolates instead.
- Crowd-Pleaser: A favorite of children and adults, these cookies are sure to disappear in the blink of an eye at parties.
Ingredients for Perfect Kiss Cookies
To make a batch of classic Kiss Cookies, you’ll need the following ingredients:
For the Cookie Dough
- ½ cup unsalted butter, softened
- ½ cup granulated sugar
- ½ cup brown sugar, packed
- 1 large egg
- 1 teaspoon vanilla extract
- ½ cup creamy peanut butter
- 1 ½ cups all-purpose flour
- ½ teaspoon baking soda
- ½ teaspoon salt
For Topping
- 24 Hershey’s Kisses (bow-tied)
- Extra fine sugar (to coat the shrimp).
Step-by-Step Recipe for Kiss Cookies
1. Preheat the Oven
- Reduce your heat to 350°F (175°C) and place the baking trays with space between each cookie onto it.
2. Prepare the Dough
- Cream the Butter and Sugars: Take the butter that you have left to soften and blend, add the granulated sugar and the brown sugar, and cream.
- Add the Wet Ingredients: Last, spread the egg as well as pour the vanilla extract and peanut butter to mix the ingredients well.
- Incorporate Dry Ingredients: In another bowl sift flour, baking soda, and salt and combine the dry ingredients until the batter is smooth. Slowly mix this into the wet bowl and beat until there is a formation of dough.
3. Shape and Roll the Cookies
- Pinch off 1 tablespoon worth of dough and round the ball.
- Dip each ball into the granulated sugar mixture and coat all around evenly.
- This is in respect to spacing them about 2 inches apart on the baking sheet alongside the dough balls.
4. Bake the Cookies
- It takes 4–5 minutes to make the biscuits rise, 8–10 minutes after which the edges turn slightly golden. The centers may look and feel soft and slightly wrinkled on top but will set and turn firm on cooling.
5. Add the Chocolate Kiss
- As soon as the cookies are done, and you have taken the cookies off the tray, place a Hershey’s Kiss in the middle of a cookie. That heat forces the base of the chocolate to stick to the cookie because the heat from the cookie has partially melted it.
6. Cool and Enjoy
- It is recommended that the cookies are allowed to stand on the baking sheet for 5 minutes, then transfer them to a wire rack to cool fully.
Tips for Perfect Kiss Cookies
1. Use Room-Temperature Ingredients
Using softened butter makes the dough easy to blend, while the eggs are best used at room temperature to result in an even bake.
2. Don’t Overbake
If cookies are baked for too long, they typically become very dry. Withdraw them from the oven once they pull gold in the edges.
3. Chill the Dough
If the dough is too sticky, you can immediately chill it for about 15–20 minutes and then continue with the rolling. This makes it easier to handle and helps stop the formation of large ‘shooting’ cookies during baking.
4. Unwrap the Kisses Ahead of Time
Make sure you have all your Hershey’s Kisses unwrapped before the cookies even finish baking.
5. Experiment with Flavors
Try to replace the peanut butter with almond butter and Nutella, and for even more different flavors try pumpkin pure.
Check Out: Salted Caramel Cookies – Flavor#38.
Fun Variations of Kiss Cookies
1. Chocolate Kiss Cookies
Replace the peanut butter base with chocolate cookie dough and then have a white chocolate kiss on the top.
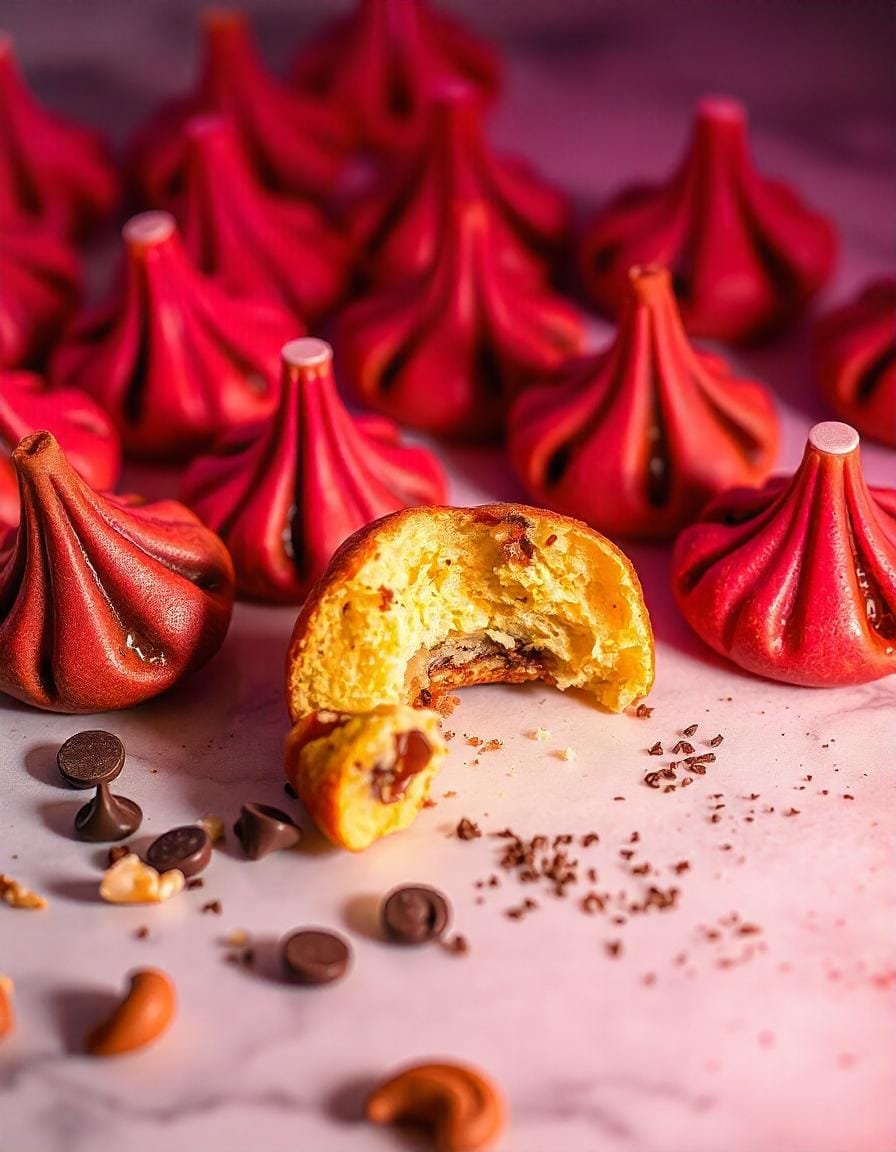
2. Holiday-Themed Kiss Cookies
Add red sugar for Christmas, green for the Fourth of July, or blue for theme parties or farewell parties.
3. Mint Chocolate Kiss Cookies
Put a few drops of the mint extract into the dough and use mint-flavored chocolate kisses on top.
4. Gluten-Free Kiss Cookies
For a celiac-friendly version of the recipe, replace the all-purpose flour with any gluten-free flour blends.
5. Double Chocolate Kiss Cookies
Add cocoa powder to the dough and place dark chocolate kisses to enhance the chocolate level.
How to Store and Freeze Kiss Cookies?
Storing:
Store cookies in an airtight tin at room temperature, and they will be kept for a maximum of five days. To retain the crispiness, pop them in layers with the use of parchment paper.
Freezing:
- Freeze Baked Cookies: Place cooled cookies on a baking sheet in one layer only. After that, freezer them and then decant them in a freezer-suitable bag or container. Should be served at room temperature, it should however be opened and left to thaw for some time before serving.
- Freeze Unbaked Dough: Divide the dough and roll it into small round balls, place them on a tray all in the same fashion, and freeze them. If it is a stiff mass, store it in a freezer-safe bag. When ready to bake, roll the frozen dough balls in sugar and bake as directed, although it may take an additional one or two minutes to bake.
Why Kiss Cookies Are a Crowd Favorite?
Kiss Cookies are a favorite to many since they are easy to prepare, can be made in a wide range, and have the best combination of coconut and chocolate! Everybody loves them, and they can be brought out anytime from the holiday cookie exchange to a plain old family barbecue. Ripe and juicy, their shiny body and delicious pulp are preferred by children and adults alike.
Conclusion
The Kiss Cookies are easy and simple to prepare and pretty much a joy to make and even more to consume. These cookies with their crisp animal cracker-like base and chocolate ganache are a simple but favorite dessert to have throughout the year. For these cookies, a combination of peanut butter and any of the following ingredients will prepare you for a tasty meal: These cookies regardless of the deviation that you make from the standard peanut butter preparation are sure bets. Grab your apron, take off the wrappers from some chocolate kisses, and prepare the recipe for happiness.
For more info in-detail: Click Here.
FAQs
1. Is it possible to use natural peanut butter for Kiss Cookies?
Yes, however, natural peanut butter unlike regular peanut butter is oilier and is less sweet. Mix it for a few minutes before using it, and you can add slightly more sugar to your dough.
2. What caused my Hershey’s Kisses to melt?
The base of the chocolate will melt when applying the cookie to the warm base, which is natural. Do not touch the cookies until they have cooled to enable the kisses to be well-preserved.
3. Can I make the Kiss Cookies without using peanut butter?
Absolutely! In creating a nut-free recipe, change the peanut butter to almond butter, sunflower seed butter, or cream cheese.